Rancho Verde Smothered Chicken Enchiladas Supreme
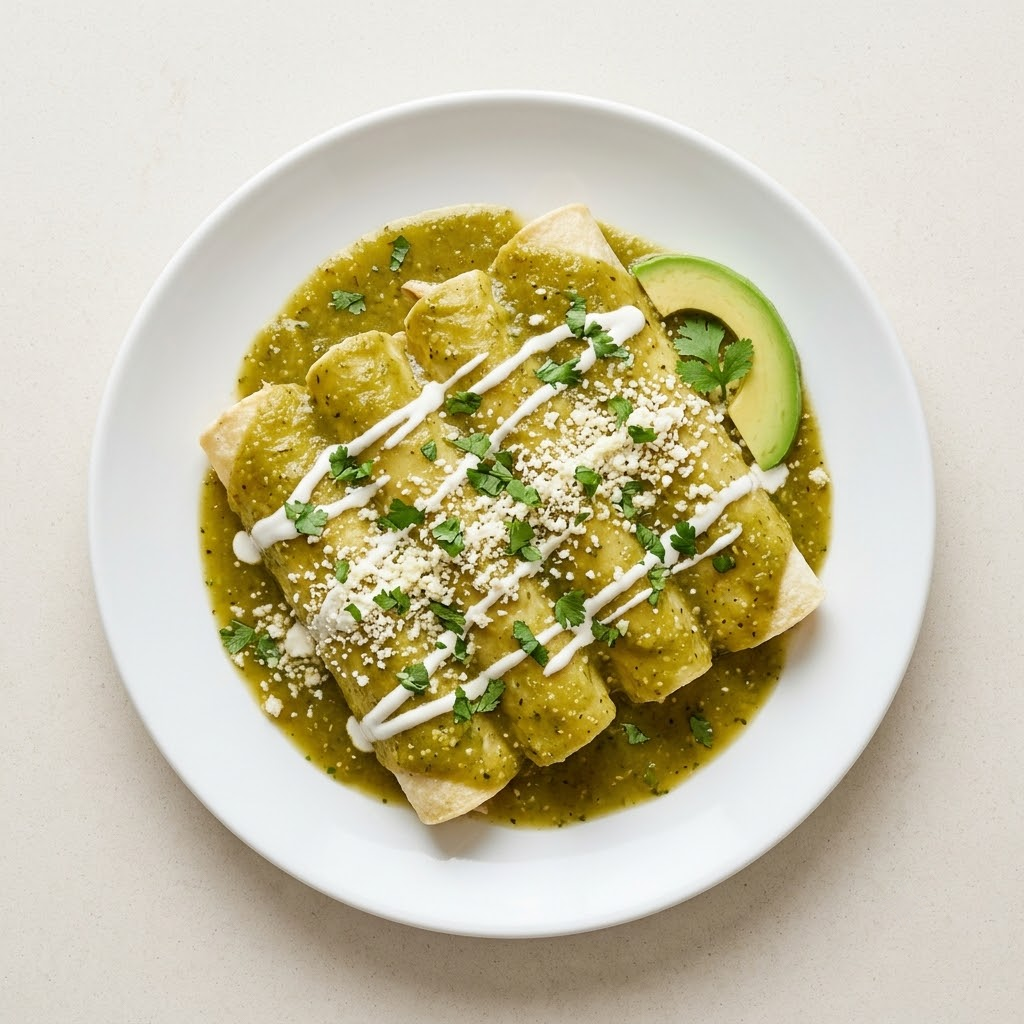
A gourmet take on classic Mexican enchiladas featuring tender shredded chicken wrapped in soft corn tortillas, layered with a rich homemade enchilada sauce, melty Monterey Jack and cheddar cheeses, and baked until bubbling and golden. Finished with fresh cilantro, avocado, crema, and crumbled queso fresco, these enchiladas deliver bold, smoky, and comforting flavors perfect for family dinners or festive gatherings.
Rancho Verde Smothered Chicken Enchiladas Supreme
shopping_basketIngredients
- Corn Tortillas12 (6-inch)
- Cooked Shredded Chicken4 cups
- Monterey Jack Cheese2 cups, freshly shredded
- Sharp Cheddar Cheese1 1/2 cups, freshly shredded
- Yellow Onion1 medium, finely diced
- Garlic4 cloves, minced
- Olive Oil2 tbsp
- Tomato Paste2 tbsp
- Chicken Broth2 cups
- Tomato Sauce15 oz (425g)
- Chili Powder2 tbsp
- Ground Cumin2 tsp
- Smoked Paprika1 tsp
- Dried Oregano1 tsp
- Fine Sea Salt1 1/2 tsp
- Freshly Ground Black Pepper1/2 tsp
- Fresh Cilantro1/4 cup, chopped
- Queso Fresco1/2 cup, crumbled
- Mexican Cremafor serving
- Avocado1, sliced for garnish
- Lime1, cut into wedges
Nutrition Per Serving
Calories
615
Protein
38g
Fat
31g
Carbs
43g
restaurantInstructions
Prepare the Enchilada Sauce
Heat the olive oil in a saucepan over medium heat. Add the diced onion and cook for about 5 minutes until softened. Stir in the garlic and cook for another 30 seconds before adding the tomato paste, chili powder, cumin, smoked paprika, oregano, salt, and black pepper. Cook for 1 to 2 minutes until the spices become fragrant.
Simmer the Sauce
Pour in the tomato sauce and chicken broth while whisking until smooth. Bring to a gentle simmer and cook for 12 to 15 minutes until slightly thickened.
Simmering allows the spices to bloom fully and removes any raw tomato flavor, resulting in a richer enchilada sauce.
Prepare the Filling
In a large bowl, combine the shredded chicken with 1 cup of the Monterey Jack cheese, 1/2 cup of the cheddar cheese, and about 1/2 cup of the prepared enchilada sauce. Mix until evenly combined.
Warm the Tortillas
Lightly warm each corn tortilla in a dry skillet or microwave for 20 to 30 seconds until soft and pliable. This helps prevent cracking when rolling.
Briefly warming tortillas makes them much easier to roll without tearing.
Fill the Enchiladas
Spread a thin layer of enchilada sauce across the bottom of a lightly greased 9x13-inch baking dish. Place a generous scoop of the chicken filling in each tortilla, roll tightly, and arrange seam-side down in the baking dish.
Add the Sauce
Pour the remaining enchilada sauce evenly over the rolled tortillas, ensuring they are fully covered to keep them moist while baking.
Top with Cheese
Sprinkle the remaining Monterey Jack and cheddar cheeses evenly over the enchiladas, covering the entire surface.
Freshly shredded cheese melts much smoother than pre-shredded cheese because it contains fewer anti-caking agents.
Bake Until Bubbling
Preheat the oven to 375°F (190°C). Bake uncovered for 25 to 30 minutes until the cheese is completely melted and the sauce is bubbling around the edges. For a golden finish, broil for an additional 2 minutes while watching carefully.
Rest and Garnish
Allow the enchiladas to rest for 10 minutes before serving so they hold their shape. Garnish with chopped cilantro, crumbled queso fresco, sliced avocado, and a drizzle of Mexican crema. Serve with lime wedges for squeezing over the top.
A squeeze of fresh lime just before eating brightens the rich flavors and balances the creamy cheese beautifully.
Store and Reheat
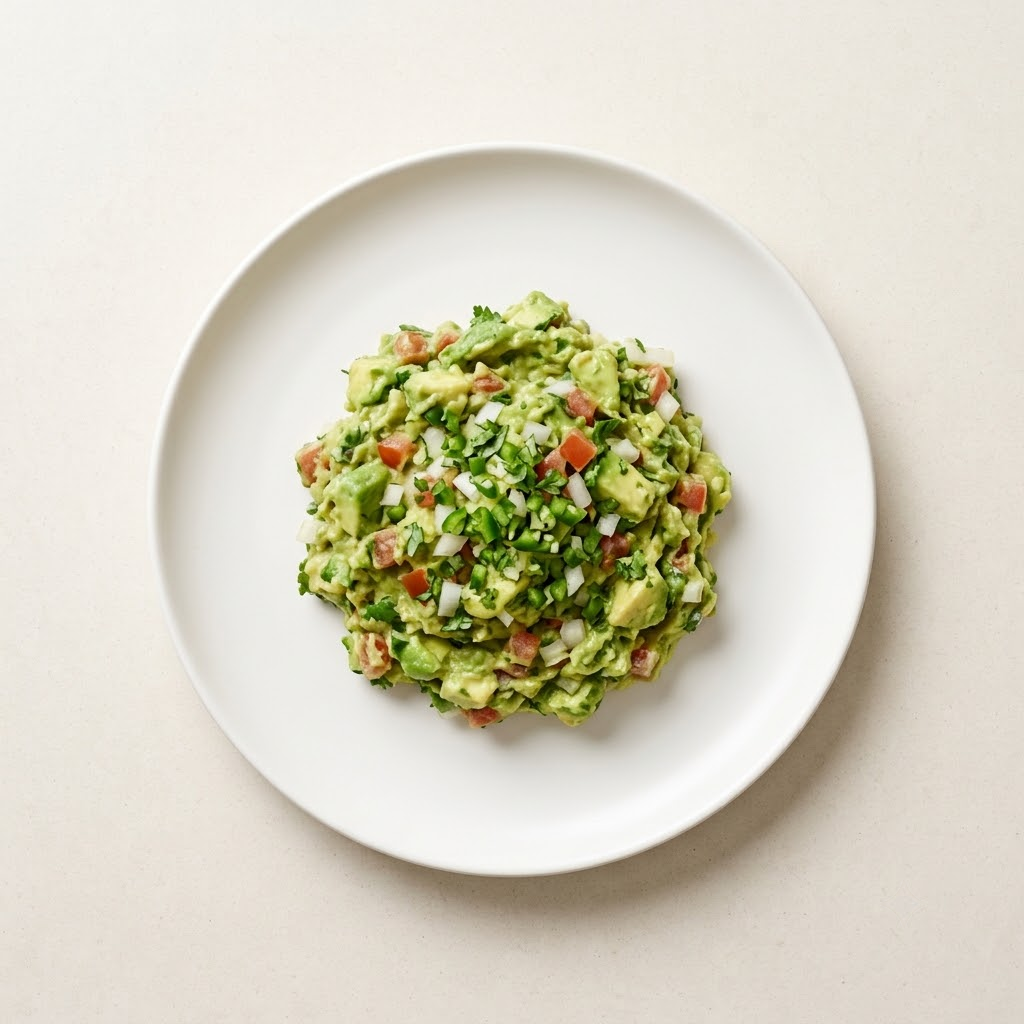
Store leftovers in an airtight container in the refrigerator for up to 4 days or freeze for up to 3 months. Reheat covered in a 350°F (175°C) oven until heated through or microwave individual portions. Serve with Mexican rice, refried beans, fresh guacamole, or a crisp salad for a complete meal.
Enchiladas often taste even better the next day as the tortillas absorb more of the flavorful sauce.
Cooking Mode
Keep your screen awake with step-by-step guidance.
You might also like...
More inspirations from your digital sous-chef.