Heritage Country Sourdough Artisan Loaf
A rustic bakery-style sourdough bread featuring a deeply caramelized crust, an airy open crumb, and the signature tang that only a naturally fermented starter can provide. Slow fermentation develops exceptional flavor while creating a loaf that's perfect for sandwiches, toast, soups, or simply served warm with butter.
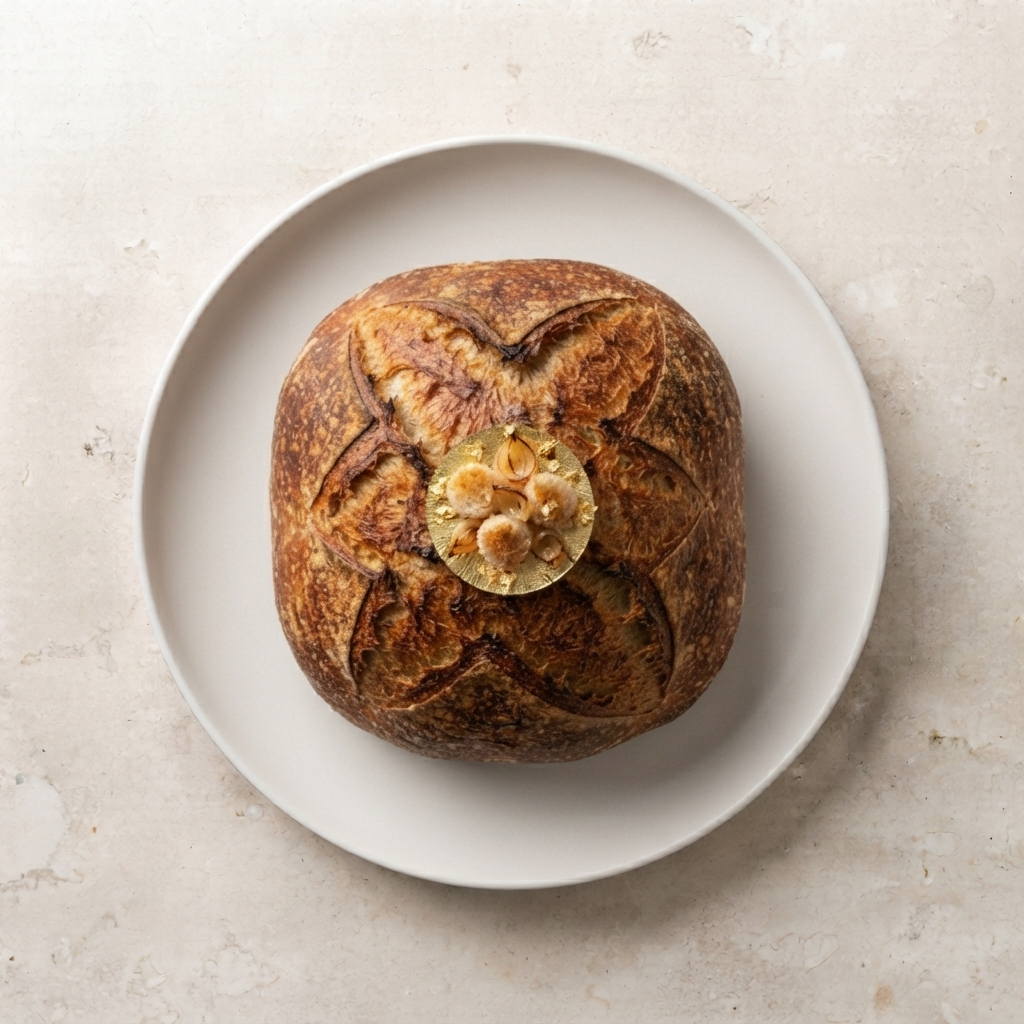
Heritage Country Sourdough Artisan Loaf
shopping_basketIngredients
- Active Sourdough Starter150g, bubbly and recently fed
- Bread Flour500g
- Filtered Water350g, room temperature
- Fine Sea Salt10g
- Rice Flour2 tbsp, for dusting
Nutrition Per Serving
Calories
185
Protein
6g
Fat
1g
Carbs
38g
restaurantInstructions
Feed the Starter
Feed your sourdough starter 4 to 6 hours before mixing the dough. The starter should be bubbly, doubled in size, and pass the float test by floating in a bowl of water. Using an active starter ensures strong fermentation and excellent oven spring.
A weak starter is the number one reason homemade sourdough turns out dense.
Mix the Dough
In a large mixing bowl, combine the bread flour and water until no dry flour remains. Cover and allow the mixture to rest for 30 minutes. This process, called autolyse, hydrates the flour and begins gluten development naturally. After resting, add the active sourdough starter and sea salt, then mix thoroughly until fully incorporated.
Develop the Gluten
Cover the bowl and let the dough rest for 30 minutes. Perform a series of stretch-and-folds by gently pulling one side of the dough upward and folding it over itself. Rotate the bowl and repeat four times. Perform this process every 30 minutes for approximately 2 hours, completing four sets total.
Stretch-and-folds strengthen the dough without kneading, helping create the beautiful open crumb found in artisan bread.
Bulk Fermentation
After the final stretch-and-fold, cover the bowl and allow the dough to rise at room temperature for another 3 to 5 hours, depending on your kitchen temperature. The dough should become noticeably puffier, smoother, and increase in volume by roughly 50 percent. Avoid waiting for it to fully double, as over-proofing can weaken the dough.
Shape the Dough
Turn the dough onto a lightly floured work surface. Gently stretch it into a rectangle before folding each side toward the center to build tension. Flip the dough seam-side down and rotate it against the countertop using your hands to create a tight, round loaf. Transfer it seam-side up into a proofing basket generously dusted with rice flour.
Cold Proof
Cover the proofing basket and refrigerate the dough for 12 to 16 hours. The slow overnight fermentation allows the bread to develop its signature tangy flavor while improving texture and making the dough easier to score.
Cold dough holds its shape much better during scoring and creates dramatic oven spring.
Preheat the Dutch Oven
Place a Dutch oven with its lid inside your oven and preheat to 475°F (245°C) for at least 45 minutes. A thoroughly heated Dutch oven traps steam during the initial bake, creating a beautifully blistered crust.
Score the Loaf
Carefully invert the cold dough onto parchment paper. Using a sharp bread lame or razor blade, make one long slash about 1/2 inch deep across the top of the loaf. This controlled cut allows the bread to expand beautifully during baking instead of bursting unpredictably.
Bake
Transfer the dough into the hot Dutch oven using the parchment paper. Cover with the lid and bake for 25 minutes. Remove the lid and continue baking for another 20 to 25 minutes until the crust becomes a deep golden brown with a rich caramelized color. The internal temperature should reach approximately 208°F to 210°F (98°C to 99°C).
The darker the crust, the deeper and more complex the flavor will be.
Cool Before Slicing
Transfer the finished loaf to a wire rack and allow it to cool completely for at least one hour before slicing. Although it's tempting to cut into warm bread, allowing it to cool finishes the baking process and sets the crumb, resulting in cleaner slices and a better texture. Serve with butter, olive oil, soups, artisan cheeses, or your favorite sandwich fillings.
Cooking Mode
Keep your screen awake with step-by-step guidance.